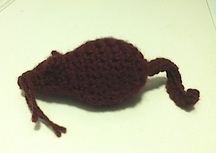
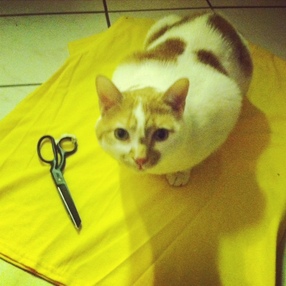
Crochet Mouse Toy - Using the pattern from here, I crocheted this little thing while watching a couple of episodes of Trailer Park Boys (my current fave). This was my first project for our cat and I completed it in a fit of craftiness that struck when we weren't even unpacked yet! All my supplies and tools were still in boxes (except a crochet hook that had been living in my purse), so this was a very spur-of-the-moment project. To stuff it, I recycled some plastic grocery bags by drawing them into a rope with my hands and snipping thin strips off with scissors into a kind of Easter-grass-ish fluff. I also stuck a little jingle-bell(that I found while packing) in there for noise. I did not, at the time, have any catnip to put in, which is just as well .
 | Cardboard Scratch Pad - After a run to IKEA, our new house was full of funkily-named furniture and cardboard boxes. Knowing how kitties need to scratch, I looked up DIY cardboard cat scratchers and got some ideas to make one and reuse some of that cardboard. Instructions below: P.S. Did you know they charge around $15 for this in a pet store? $15 for some cut up cardboard. No, thank you! |
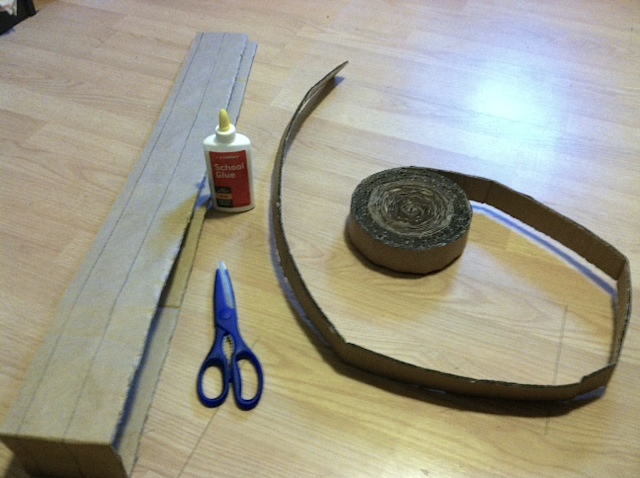
Materials: cardboard, scissors, school glue, super glue
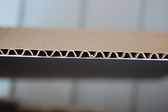
Step 1: Cut the cardboard into a bunch of strips, 1.5-2" wide, cutting it so that the long edge shows the wavy inside layer like this ------------------------------------------------------------>
You can see in the pictures that I didn't catch on to this until I had already rolled a few strips.
Step 1: Cut the cardboard into a bunch of strips, 1.5-2" wide, cutting it so that the long edge shows the wavy inside layer like this ------------------------------------------------------------>
You can see in the pictures that I didn't catch on to this until I had already rolled a few strips.
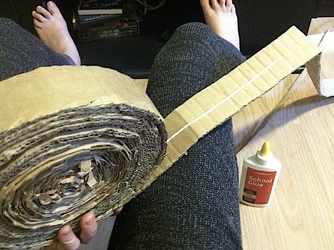
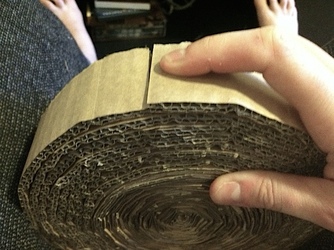
Step 2: Take the first strip and start rolling it up tightly. After you've rolled it a few times, start putting a long strip of glue in the middle of the inside of the strip, doing sections as you roll it up. When you reach the end, put a tiny bit of superglue on the end and hold it down for a few seconds until it bonds. I did this just so that the superglue would hold each strip in place securely while the regular glue dried.
 |  |
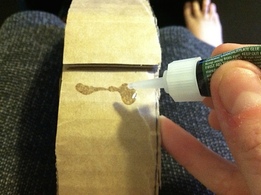
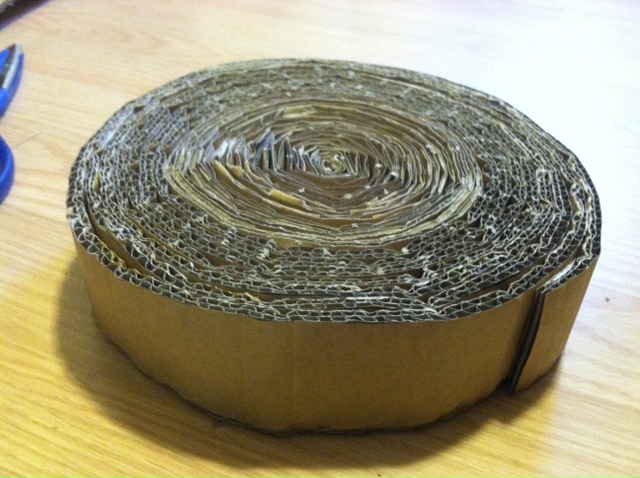
Step 3: Put a little bit of super glue next to the end of the last cardboard strip, take a new strip, and press the end firmly into the glue until it bonds. Then continue with the rolling and the regular glue. Keeping rolling and gluing until the circle reaches about a foot in diameter, or until it seems big enough for your cat to lounge on.
Tips:
-To make the cardboard roll more smoothly, run the entire strip through a curve in your hands to pre-bend it. This avoids any big gaps due to the cardboard creasing in a weird place and refusing to lie flat.
-To get your cat interested, sprinkle some catnip onto the pad. It should fall into the holes and small gaps in the cardboard and make the whole thing smell heavenly (to your cat). Did this and within the first 5 minutes of being in our house, Cake walked right over to it unprompted and began kneading it with her claws. Smart kitty.
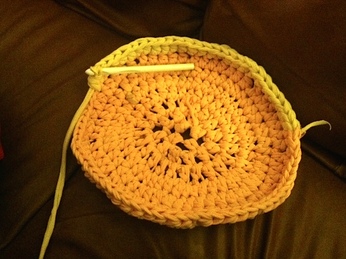
Crochet Cat Yurt - I originally pinned this on my Crafts to Craft pinboard while I was still just dreaming of the day when I would have a kitty to put in it. Now, I'm really excited to start working on it for realsies! This is another recycling craft, using old tshirts from Goodwill to make tshirt yarn. I followed this neat tutorial on how to easily make one continuous piece of yarn from most of the shirt, instead of tying a bunch of pieces together.
One note: crocheting with tshirt yarn takes a LOT more tshirts than you think. Probably 10 yellow shirts went into this project, and I used every scrap I could, including the sleeves and as much of the yoke as possible.
One note: crocheting with tshirt yarn takes a LOT more tshirts than you think. Probably 10 yellow shirts went into this project, and I used every scrap I could, including the sleeves and as much of the yoke as possible.
 Helping. 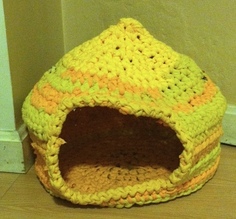 Finished! | 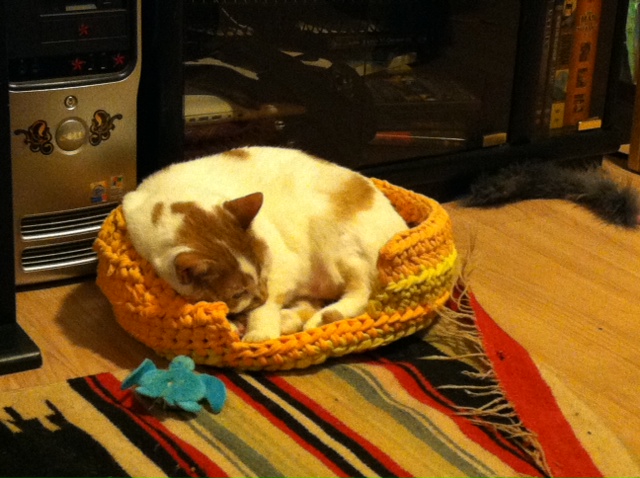 Initial testing. 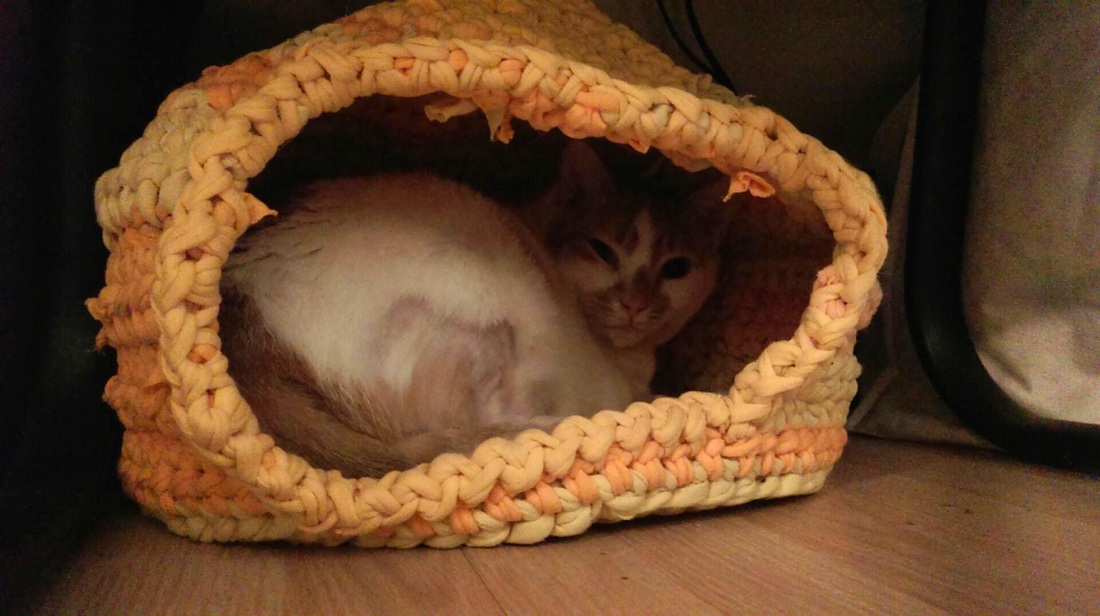 Yes, yes, very nice. Now go away, human! |

 RSS Feed