
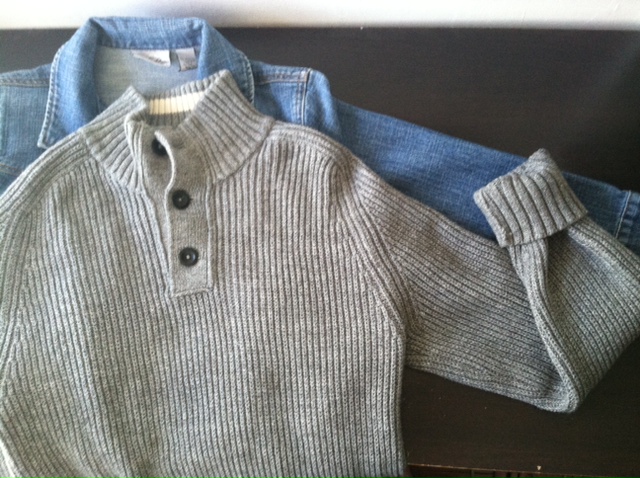
First post, ohmyglob! This project is fun, customizable, and SUPER easy. I found the original idea on this AWESOME crafting blog, Studs and Pearls, but I tweaked it a bit(and decided to rename it the SWACKET, half sweater, half jacket, but all cuddly). You could do this by hand if you wanted to (I don't know who would actually do that, but I did a lot of hand-sewing in Liberia, so maybe there are others without access to a machine). First things first, obtain your materials:
1. denim jacket that fits
2. old sweater with cool sleeves(note: make sure to check the sleeve length before you buy or start cutting)
3. matching thread
4. pins, scissors, basic sewing tools, etc.
1. denim jacket that fits
2. old sweater with cool sleeves(note: make sure to check the sleeve length before you buy or start cutting)
3. matching thread
4. pins, scissors, basic sewing tools, etc.

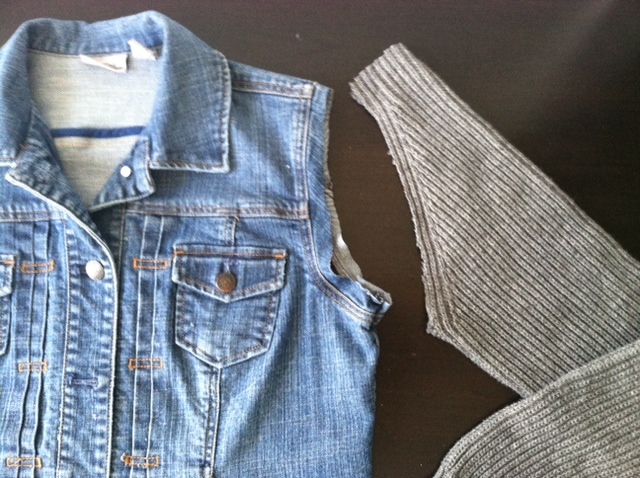
Step 1: Cut the entire sleeves off of the sweater and cut the sleeves off of the jacket, leaving one inch from the shoulder seam of the jacket.
Step 2: This is where I diverged from the Studs and Pearls tutorial. In the S&P version, she leaves the denim/sweater rough edge inside the armhole of the jacket. NBD, but I decided I wanted to finish mine a little nicer, since it's supposed to be a gift for my bestie. If you're looking for simplicity, check out the S&P version. If a nicer finish sounds good, keep reading:
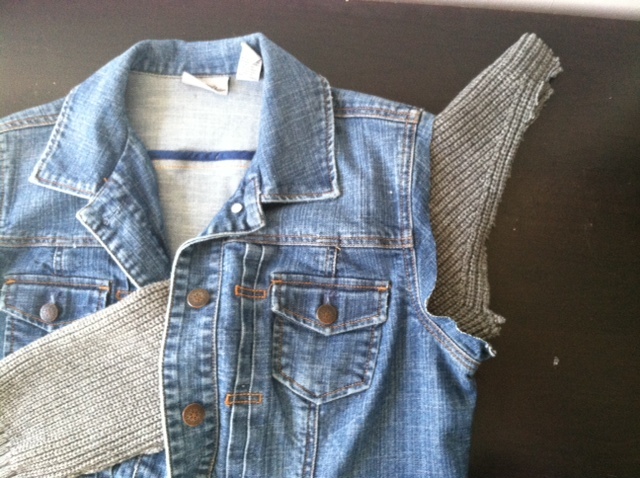
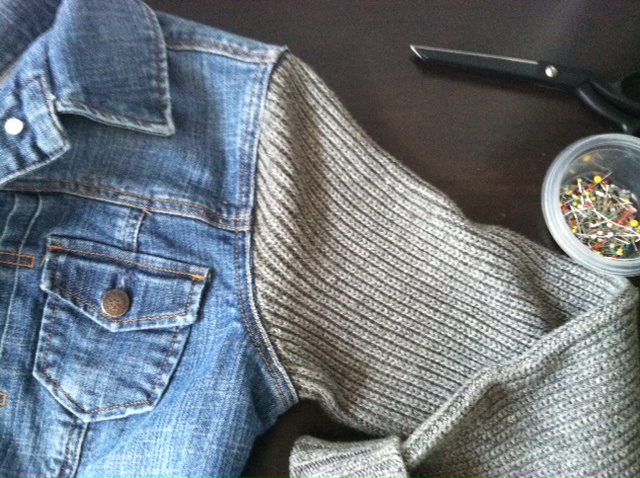
Turn the sweater sleeve (called hereafter the 'sweave'; bonus points if you can picture Tweety bird saying it in your head) inside out and pull through the corresponding arm hole of the jacket. The rough side of the sweave should be facing the rough side of the jacket, like so (note: the rough side of my sweater looks the same as the nice side):
Turn the sweater sleeve (called hereafter the 'sweave'; bonus points if you can picture Tweety bird saying it in your head) inside out and pull through the corresponding arm hole of the jacket. The rough side of the sweave should be facing the rough side of the jacket, like so (note: the rough side of my sweater looks the same as the nice side):
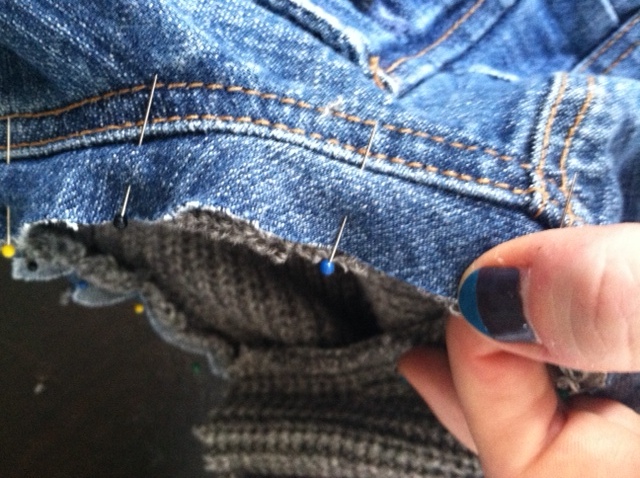
Step 3: Pin the edges together like this, making sure to match the seam of the sweave with the 'armpit' seam of the jacket:

You'll notice that I had some extra material sticking out at the top. This is because the sleeves of the sweater I used were not sewn to the body, they were part of the knit, so I cut extra high just to be safe. After the next step, I cut off the excess. If your sweater has sewn-on sleeves, just cut around the seam.
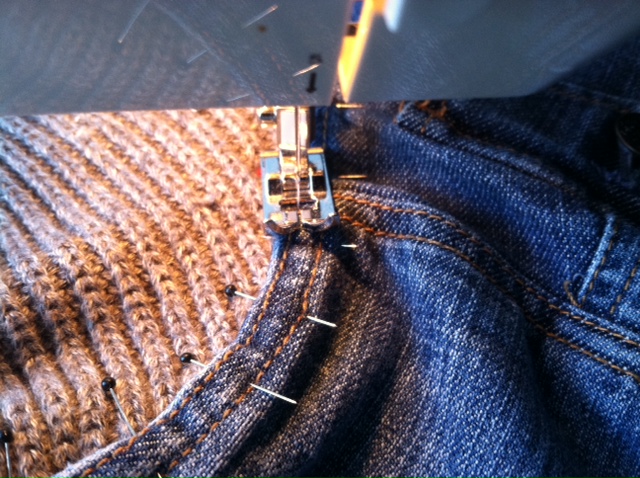
Step 4: Sew around the arm hole about 1/4 inch from the edge like this:
Step 4: Sew around the arm hole about 1/4 inch from the edge like this:
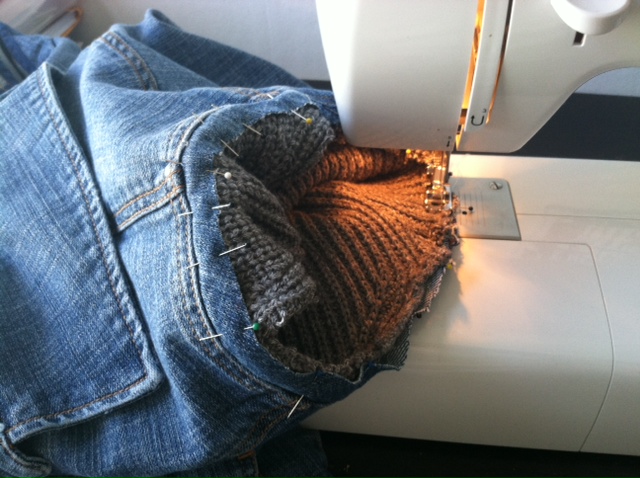
Don't worry too much about the seam being perfect (i.e. not like mine). This is just part of the finishing for the inside of the arm hole. We'll get to the 'nice' outside seam in a second.
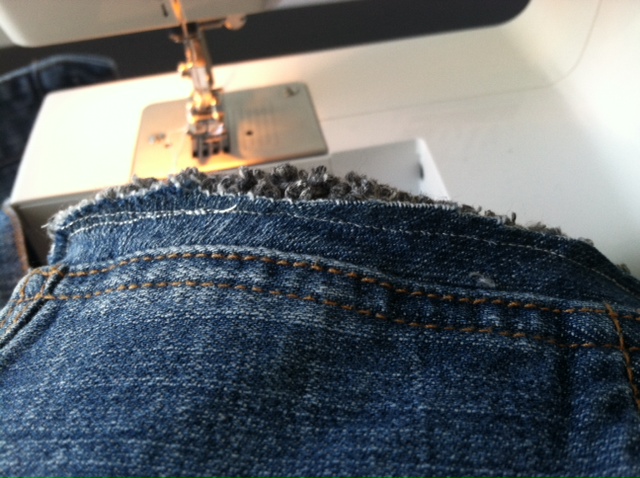
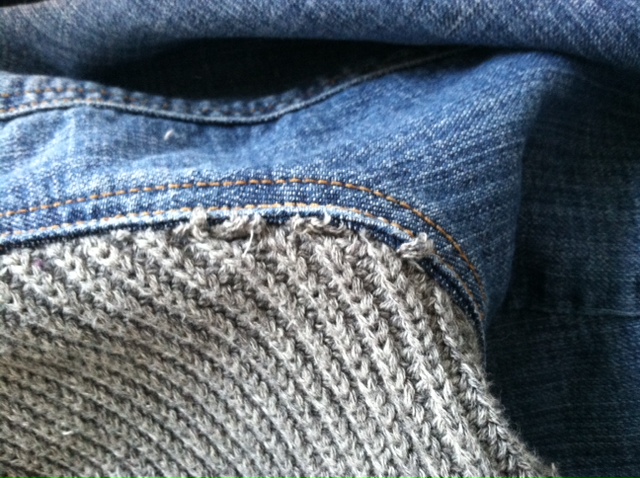
Step 5: Pull the sweave right-side-out through the armhole of the jacket. The seam you just sewed should be sticking up on the outside. Fold the edge of the denim back under the shoulder seam so that it covers the seam you just sewed, make sure to pull out as much of the sweave so that it lays flat, and pin:
Step 5: Pull the sweave right-side-out through the armhole of the jacket. The seam you just sewed should be sticking up on the outside. Fold the edge of the denim back under the shoulder seam so that it covers the seam you just sewed, make sure to pull out as much of the sweave so that it lays flat, and pin:
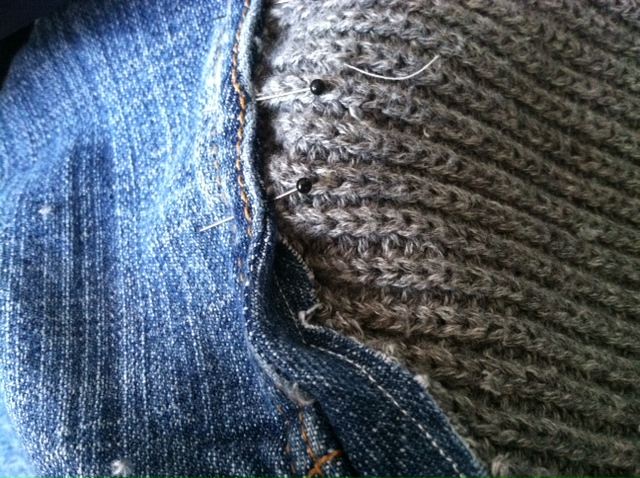
I know that was confusing, so please look carefully at the above photo. See how the seam gets pushed back under the shoulder seam of the jacket? This hides the raggedy edge by folding the sweave back over it, so that it's in a tidy pocket called a french seam.
After pinning all the way around the armhole, your soon-to-be-swacket should look like this:
After pinning all the way around the armhole, your soon-to-be-swacket should look like this:
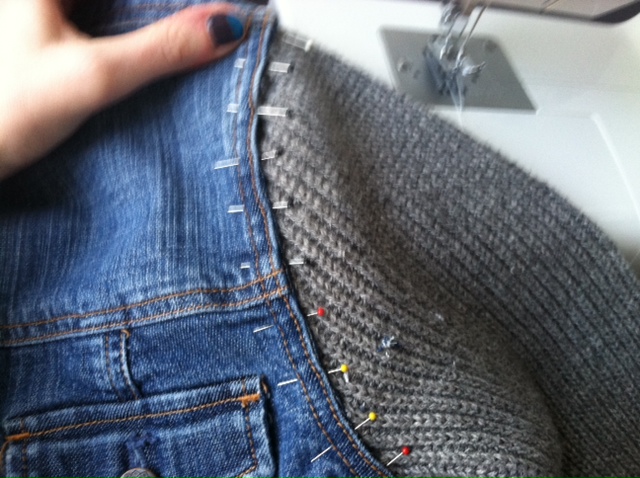
Step 6: Sew carefully and slooooooooowly around the arm hole, trying to keep your stitches on top of the outside line of stitches already there (sneaky hiding trick).
Step 7: Repeat steps 2 through 6 for the other sweave.
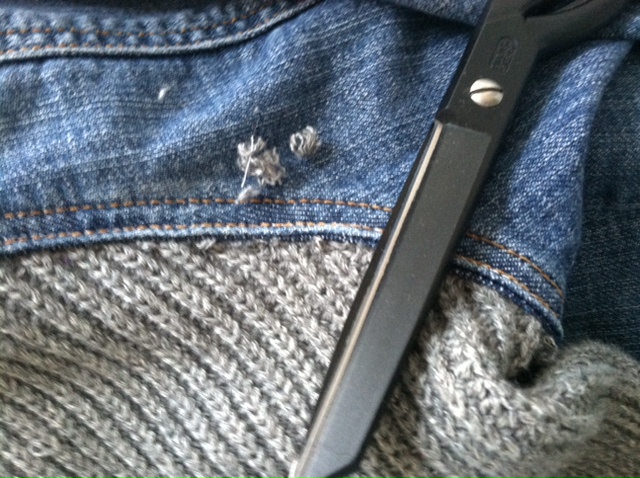
Step 8: Trim any sweater fuzzies that might have escaped your french-seam trickery.
Step 8: Trim any sweater fuzzies that might have escaped your french-seam trickery.
 |  |
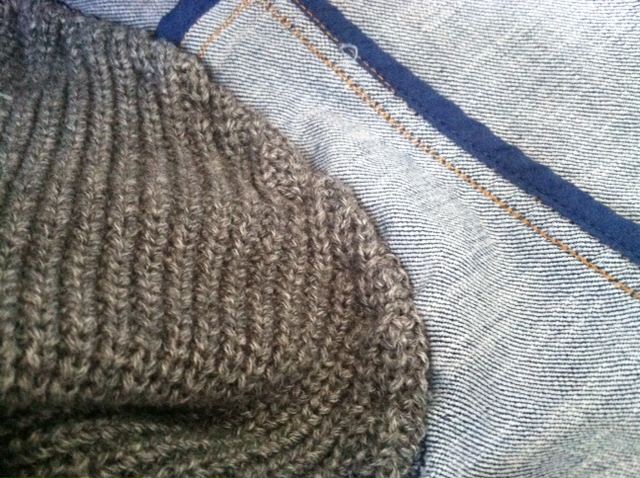
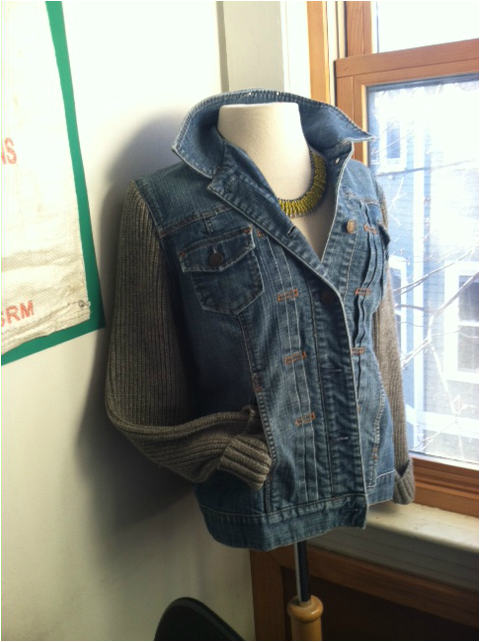
Step 9: Taa-daa! You're done! Here is what the inside and outside of your finished seam should look like:
 |  |
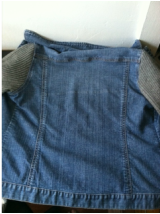
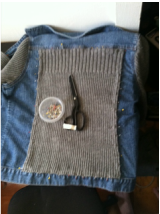
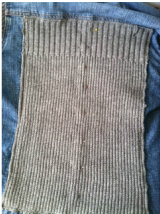
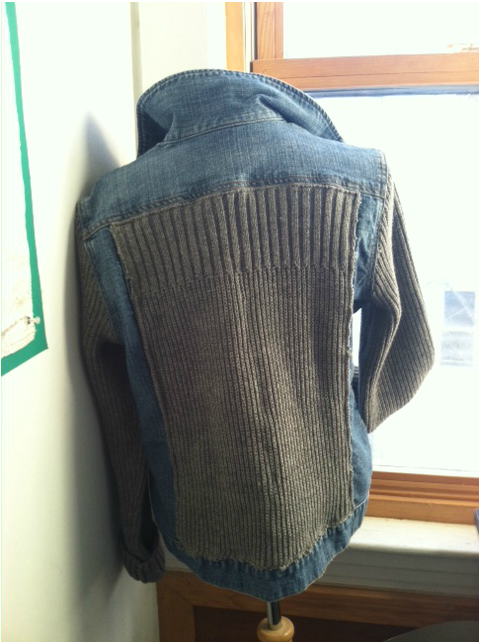
Yay! After all of that, I still had most of a sweater left, so I decided to sew a panel of the knit on the back of the jacket, just for kicks. In case you feel similarly inclined:
 |  |  |
And that's all, folks. Spring is on her way, and I'm looking forward to the sunshine for better photos and more projects.
Comments welcome! Let me know how your swacket turned out or whether you have a neat idea to customize the project even further.
Comments welcome! Let me know how your swacket turned out or whether you have a neat idea to customize the project even further.


 RSS Feed