
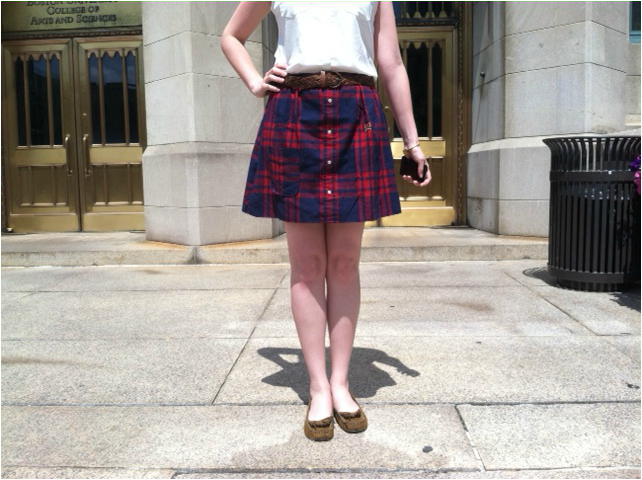
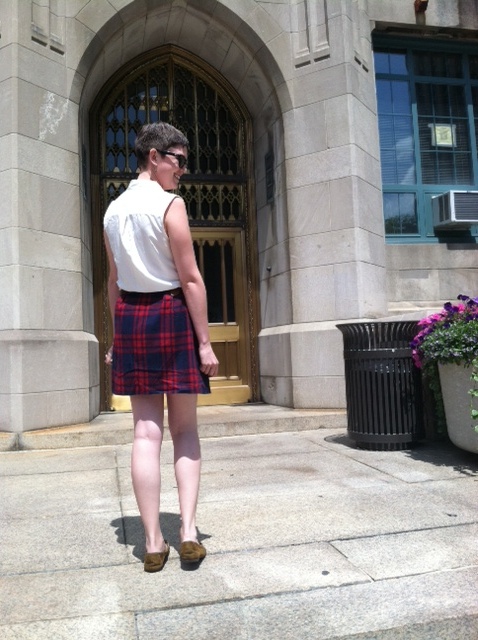
Photo credit: Emily Johnson

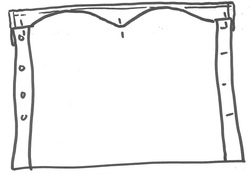
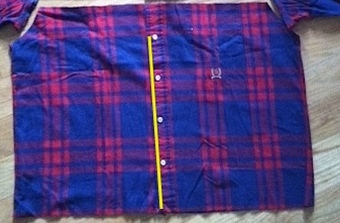
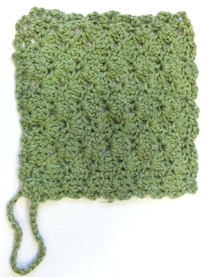
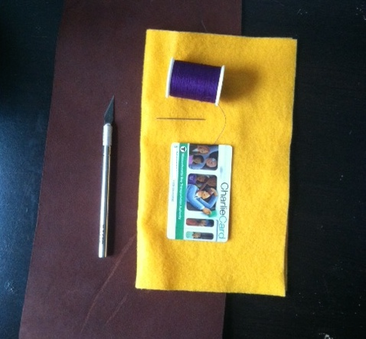
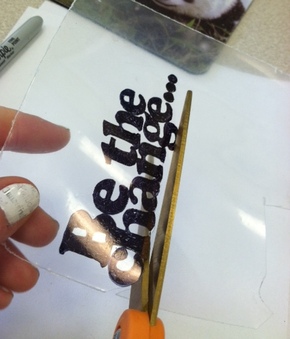
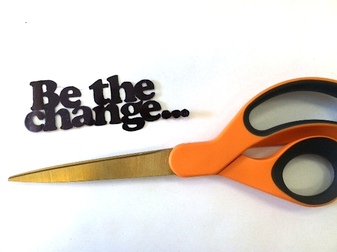
Refashion time! While trolling through my favorite crafting pinboards, I saw quite a few tutorials for making skirts from men's button-downs. All cute, but most kept the curved hem at the bottom of the shirt, and I was thinking more along the lines of this: ------------------------------------------------>
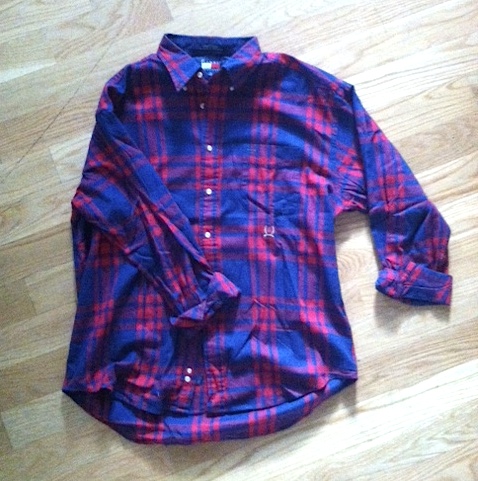
So, I went to Goodwill for a shirt and just did my own thing.
Here's the tutorial!
So, I went to Goodwill for a shirt and just did my own thing.
Here's the tutorial!
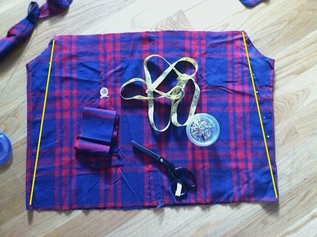
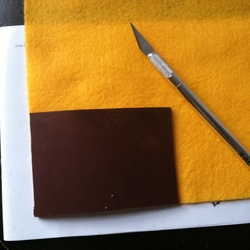
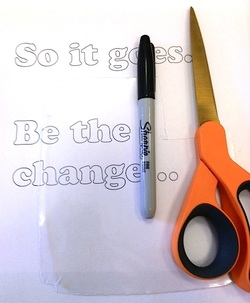
Materials: men's XL flannel shirt, matching thread, big button for the waist closure, iron
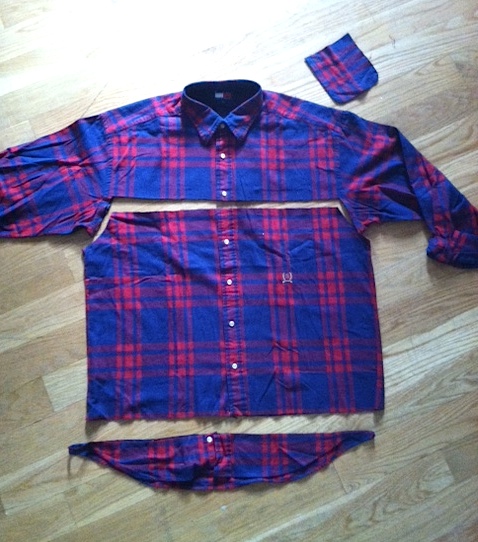
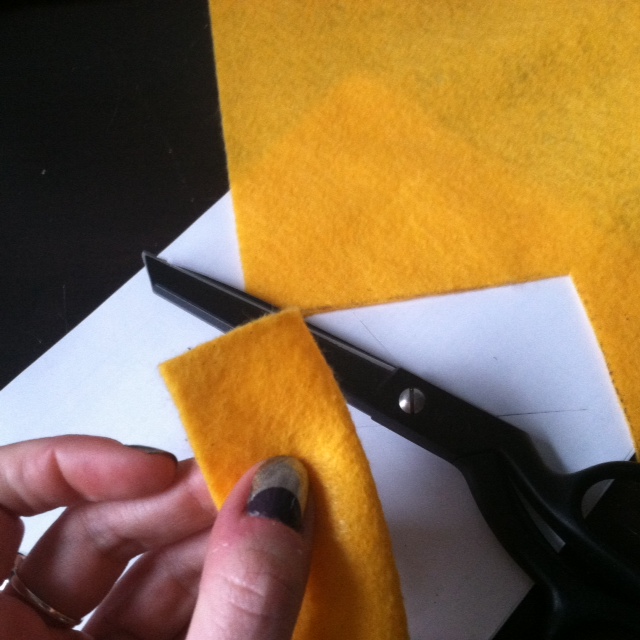
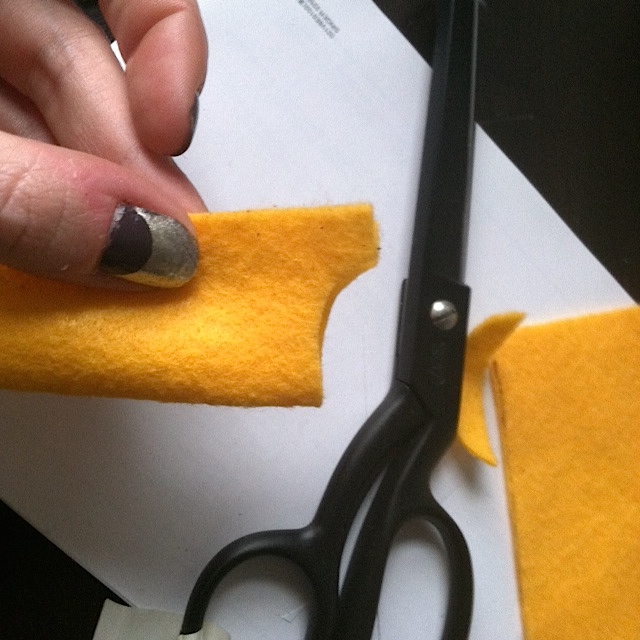
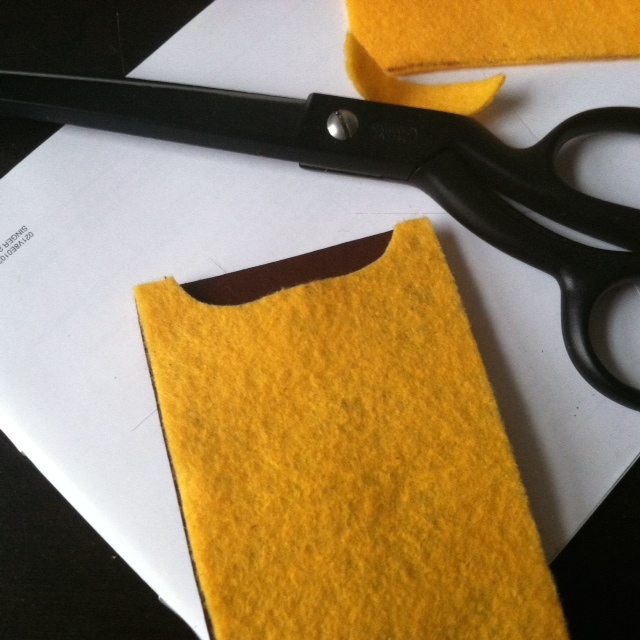
Step 1: With a seam ripper, remove the pocket/s. Save these to reattach later, or don't. Lay out the shirt as flat as you can and cut straight across the bottom, so that all of the curved hem is removed, and straight across the middle under the sleeves. You'll see in my photos that I cut a little higher on the top, cutting in around the arm holes. This is because I am a tall girl and I wanted this skirt to pass the fingertip rule(hem is below my fingertips while standing straight with my arms extended down, for those of you who didn't attend public high school in the early 2000s. :)) so I could wear it to work. Unfortunately, this took away some of the width of the skirt, so it wasn't as full and gathered at the top as I would have liked, but c'est la vie. If you don't mind a shorter skirt, cut straight across under the arms.
Step 1: With a seam ripper, remove the pocket/s. Save these to reattach later, or don't. Lay out the shirt as flat as you can and cut straight across the bottom, so that all of the curved hem is removed, and straight across the middle under the sleeves. You'll see in my photos that I cut a little higher on the top, cutting in around the arm holes. This is because I am a tall girl and I wanted this skirt to pass the fingertip rule(hem is below my fingertips while standing straight with my arms extended down, for those of you who didn't attend public high school in the early 2000s. :)) so I could wear it to work. Unfortunately, this took away some of the width of the skirt, so it wasn't as full and gathered at the top as I would have liked, but c'est la vie. If you don't mind a shorter skirt, cut straight across under the arms.
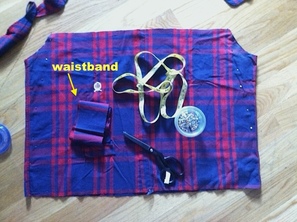
Step 2: Measure the circumference of your waist and cut strips of flannel from the upper back or sleeves that are 3.5 inches wide and your-circumference-plus-the-width-of-your-button-placket-plus-1/2inch long. (Example: my waist circumference = 30inches, my button placket = 1.5 inches, so my waistband piece should be 30+1.5+0.5=32 inches long) You may have to cut two strips and sew them together in the middle to make one long enough. This will make your waistband.
Step 3: If you cut high around the sleeves, turn the tube of the skirt inside out and pin two lines down each side from the top corners to the bottom corners of the same side. If you just cut straight across under the arms, you don't need to do this step.
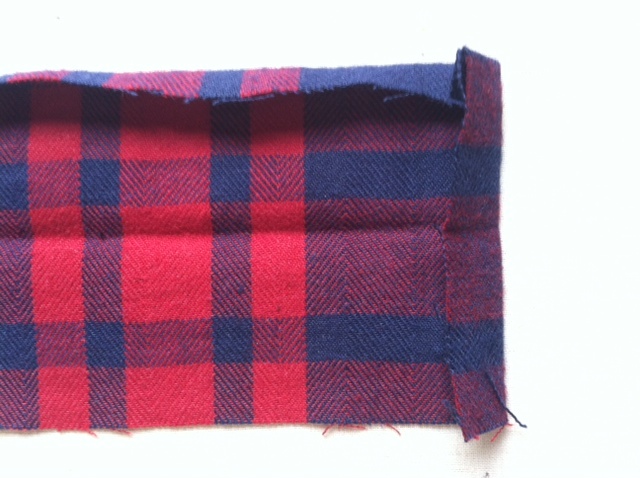
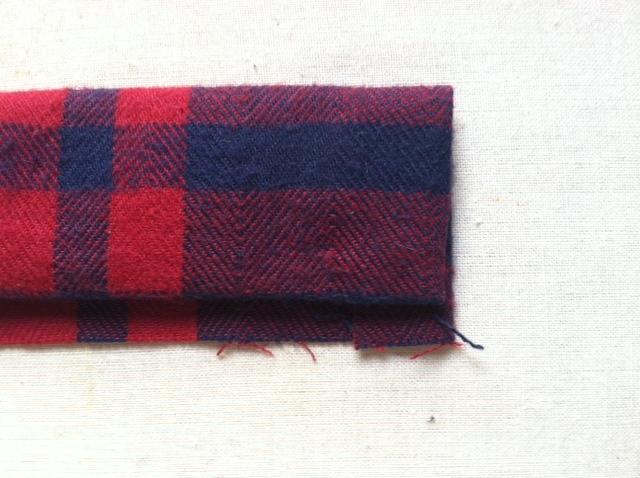
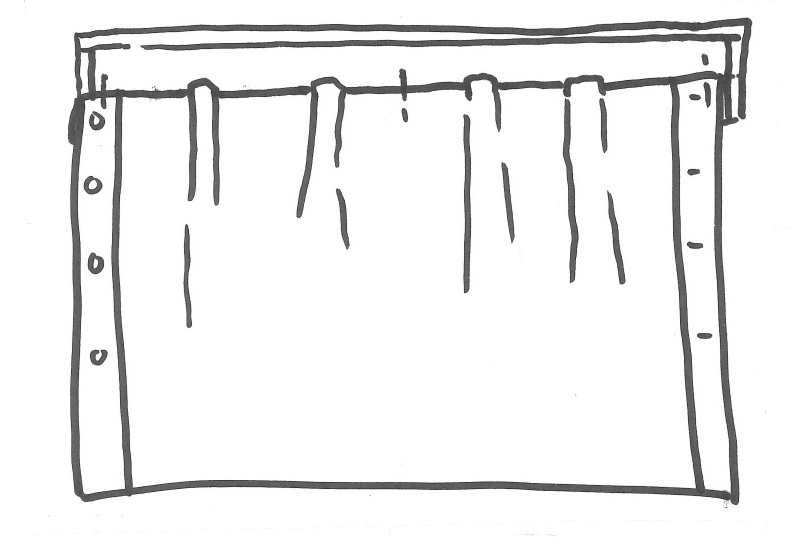
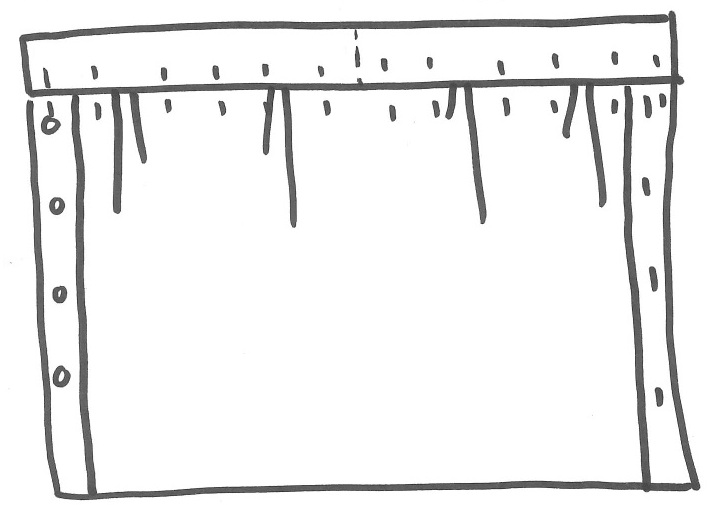
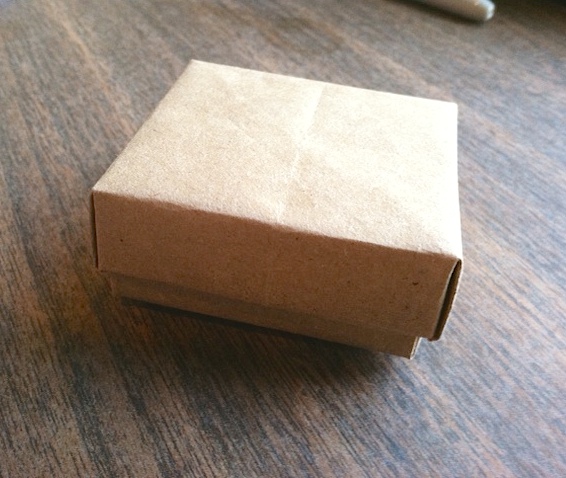
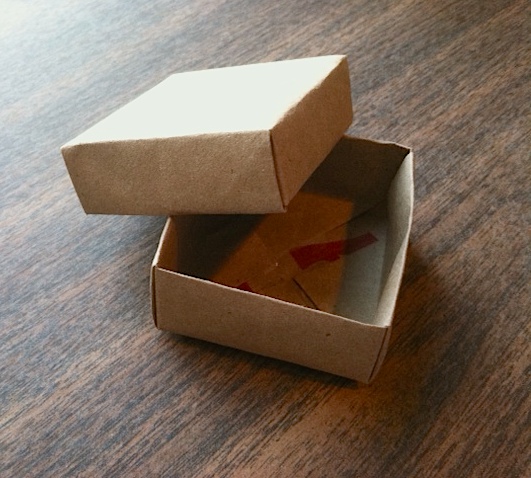
Step 4: If you had to cut two pieces to make your waistband long enough, sew them together in the center. Lay the waist band out flat on an ironing board and press that middle seam open. Then fold the waistband over itself along the long edge, wrong sides together, and press. Open the waistband again and fold one long edge and both short edges in 1/2 inch and press. Fold the waist band back on the original middle fold and press everything well. The waistband piece should look like the bottom left image when opened and the bottom right image when pressed closed.
*Those of you who are expert seamstresses/ers might take issue with the fact that I didn't press in the other long edge of the waistband. I did this because A) I'm lazy and B) this way guarantees that, when I sew the waistband to the skirt, one seam will definitely catch both the back and front side of the waistband. It does make the inside of the seam look raw and unfinished, but I didn't feel the need for professional-grade detail on an easy refashion project.
** From here I'm going to deviate from what I actually did and tell you how I should have done it. Hindsight, as they say, is 20/20 and as I was writing this I saw a much simpler way of finishing this skirt.
** From here I'm going to deviate from what I actually did and tell you how I should have done it. Hindsight, as they say, is 20/20 and as I was writing this I saw a much simpler way of finishing this skirt.

Step 5: To create the bottom hem of the skirt, unbutton the tube of the skirt and lay out right-side down. Fold up and press 1/4 inch of the bottom edge, pin, and sew with a straight seam. To save length, I did not fold it twice.
Step 6: Lay out the skirt piece again, right side up. Open the waist band and place the top edge of the skirt inside so that the unpressed edge of the waistband is under the skirt, the top edge of the skirt is against the center crease of the waistband and the sides match the ends of the waistband. Pin the two sides of the skirt to the ends of the open waistband. Pin the center of the skirt piece to the center of the waistband. The skirt piece is obviously much longer than the waistband and we'll gather up the excess in the next step.
Step 6: Make 4 box pleats, evenly spaced, to gather up the excess skirt material so that it lies flat against the length of the waistband. This can be done simply by making the pleats with your fingers and pinning them down. Fold the waistband closed over the top edge of the now pleated skirt and pin closed along it's length.
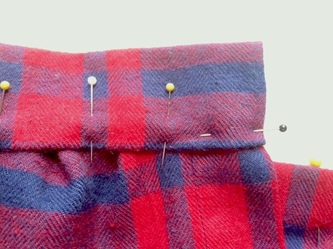
After pinning, the ends should look like this:
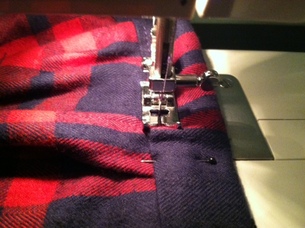
Step 7: Sew a straight seam 1/8-1/4 inch from the bottom of the waistband.
Step 8: Button up the skirt again, right-side out, and sew one seam up the left side of the button placket until about 4 inches from the top. The last four inches will allow the skirt to go over you hips when you put it on.
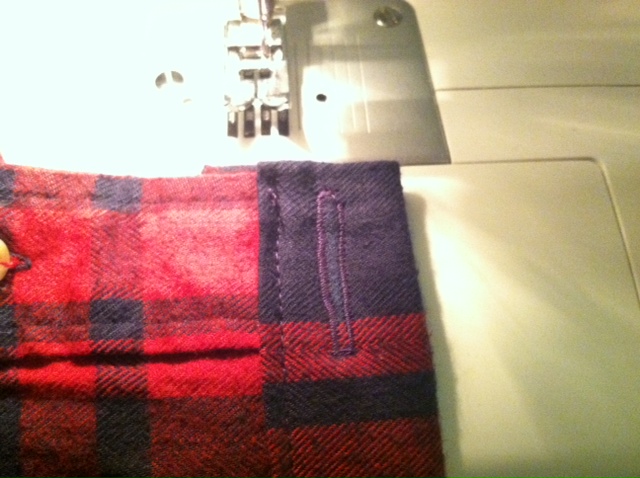
Step 9: Now that the structure of the skirt is done, the last step is to put in the button closure in the waistband. Lay your skirt out flat and mark where the button and button hole will go. Using your machine, stitch a button hole in the outside button placket and and cut it open. Attach your big button to the inside button placket.

Step 10: For a touch of whimsy, or just a place to put your keys, reattach one or both of the pockets you removed earlier. Wear and enjoy!
 |  |


 RSS Feed