
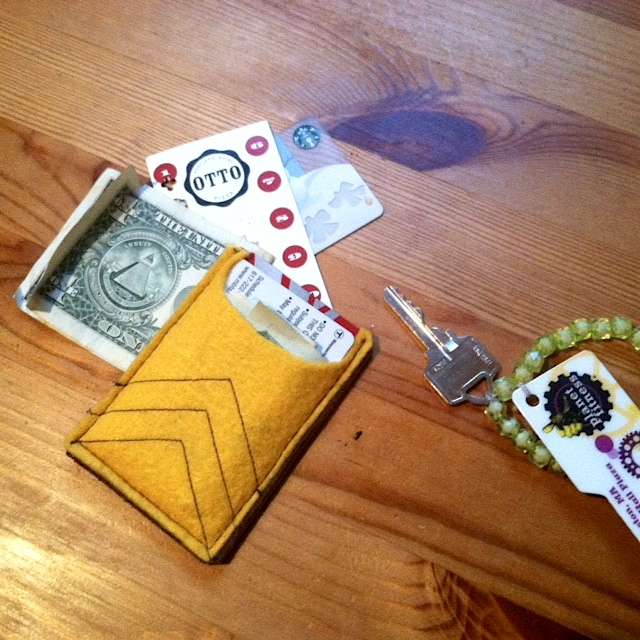
It's been a little while since my first frenzied week of posting, but I have another tutorial for you today! I don't know about you, but I'm a pockets-kind of person, not a purse-kind of person. As such, the big ol' pockets on my winter coat are usually bulging with any number of random things and I can never find anything quickly. Solution: a little card case for organizing at least a few of the things!
 |  |
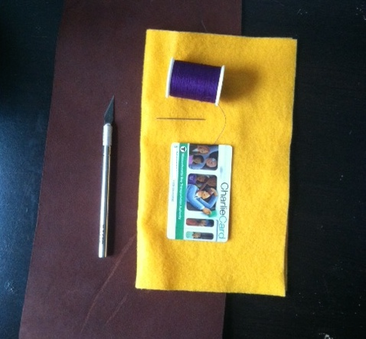
Step 1: Gather your materials:
- leather(vegan or otherwise)
- felt
- thread of a contrasting color
- Xacto knife
- card for sizing
I found my leather in a Michaels. Apparently bags of scrap leather are a thing in craft stores now.
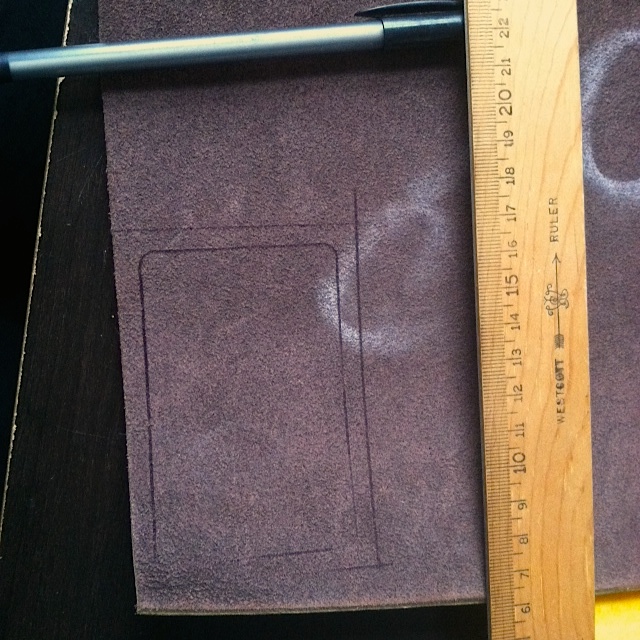
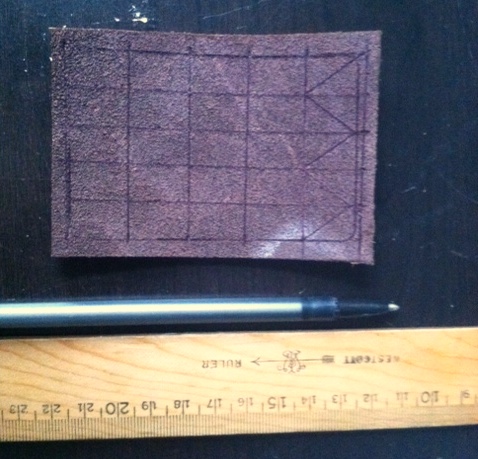
Step 2: Place your template card on the rough side of the leather 1/2cm from at least one edge and draw around it with a pen. Measure and draw lines 1/2cm from the outline of a card and cut along these outer lines with your Xacto.

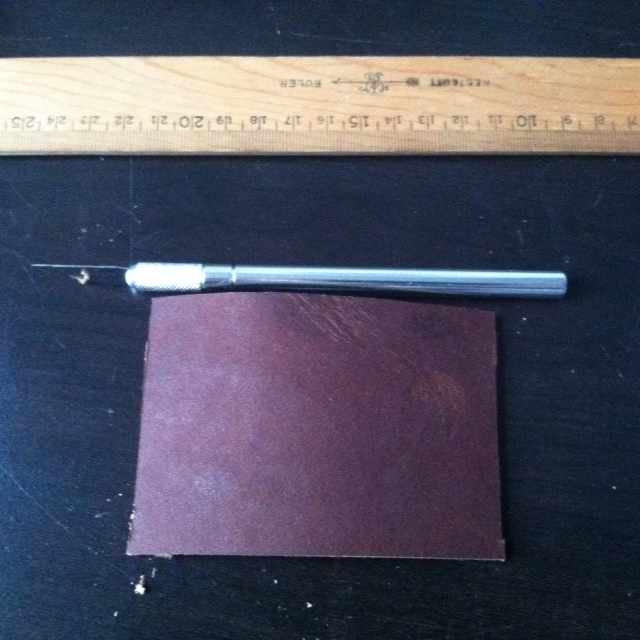
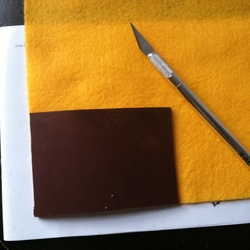
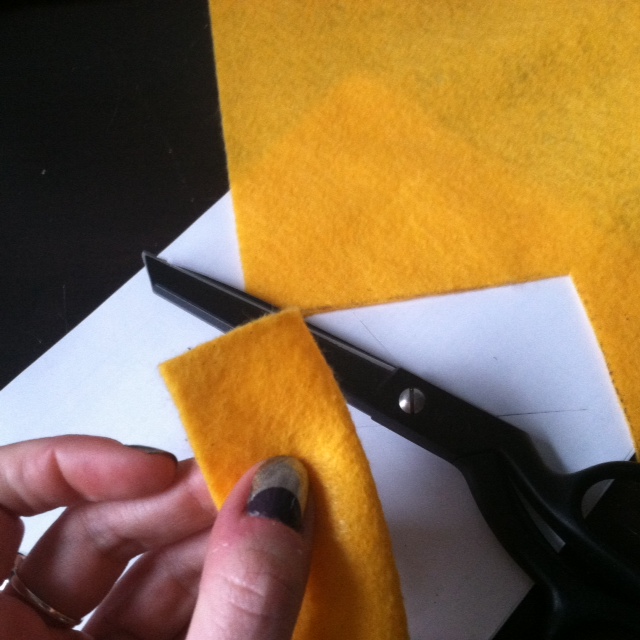
Step 3: Place the rectangle of leather you just cut out on your piece of felt and cut out the same shape in the felt.
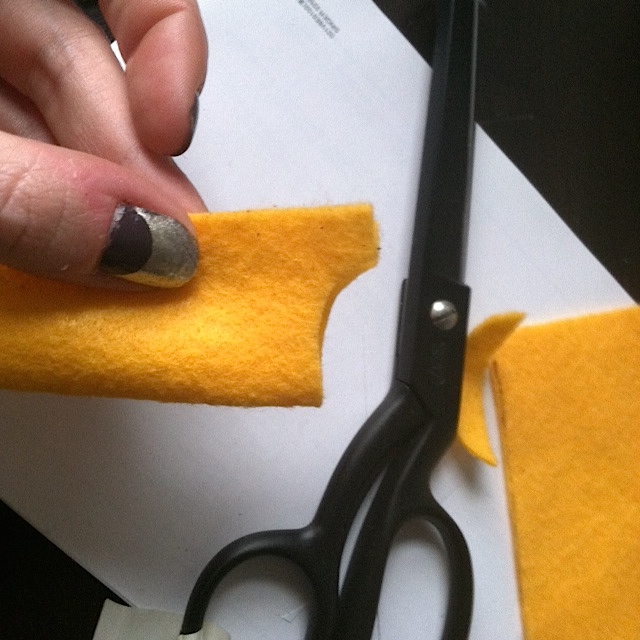
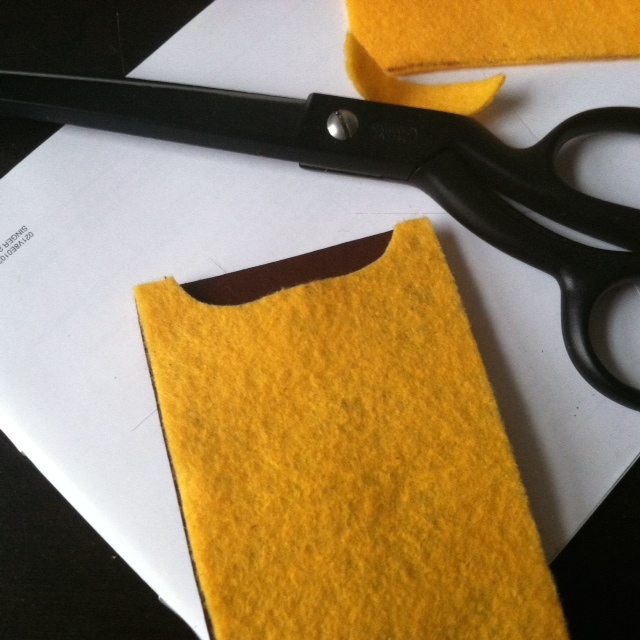
Step 4: Fold the rectangle of felt in half on the long edge and carefully cut an elongated curve out of the top edge. This will create a little halfmoon space at the top to make it easier to pull your cards out.
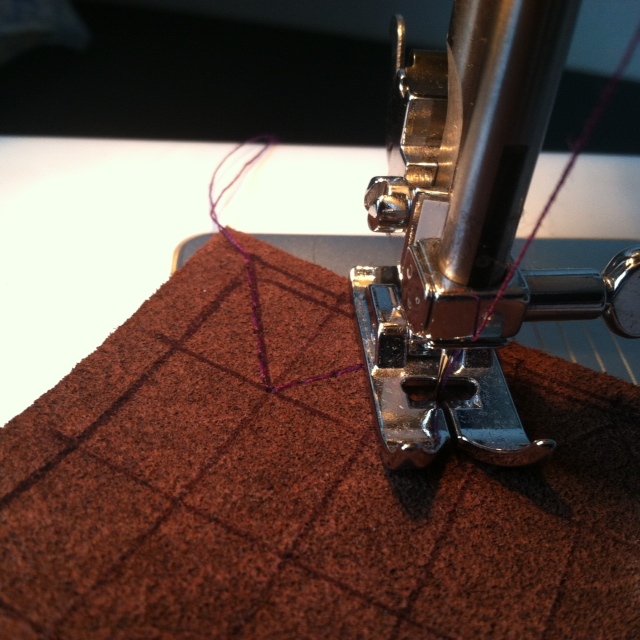
Step 5: Using a sewing machine or by hand, stitch a neat pattern onto your leather and your felt. I chose to do a bunch of zigs and zags because they're fun and made of easy straight lines and sharp corners. I was able to sew the pattern onto the leather on my machine by using a new, sharp needle, going very slowly and hand-turning the hand wheel instead of powering it with the pedal. Remember to take the time to sketch and measure out your pattern! The devil really is in those tiny details and meticulousness shows. Sewing on the machine also scuffed my leather up a bit, but not anything that a little saddle soap couldn't take care of.

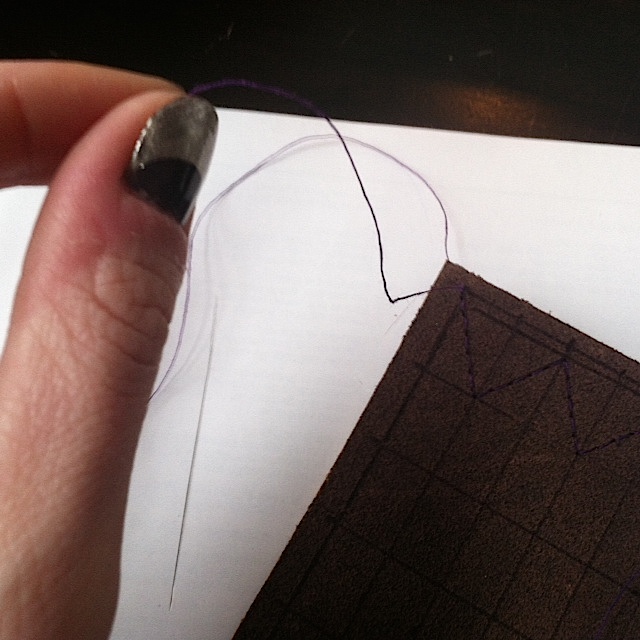
Step 6: Tie off the thread used to sew the pattern on the leather. When sewing the pattern, stop and start exactly on the ends of your design. When you are finished, gently pull on the thread end sticking out on the rough side of your leather. It should pull up a small loop of the thread from the nice side. Using a pin or seamripper, pull the thread from the nice side all the way through so that both are sticking out of the rough side. Tie them off with a couple of knots for security and trim the excess thread.


Step 7: Once you've finished sewing the pattern/decoration on both the leather and the felt, lay the felt piece on the leather piece so that their rough sides are together. Sew slowly around the 3 edges, about 1/4cm from the edge. Be sure to take your time as the felt can shift under the machine. Tie off the ends the same way as you did when sewing the designs.
Step 8: Stuff with stuff and show off your handiwork every time you use the subway!


 RSS Feed